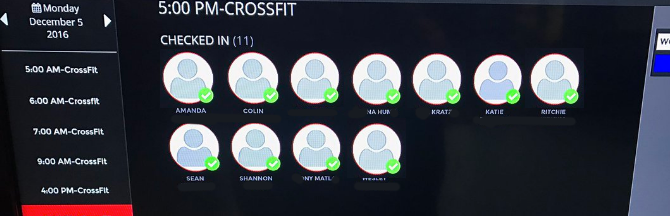
Who cares if students have a photo on file or not?
It might seem complex at first glance, but the steps below are actually pretty simple and will take about 15-20 minutes to set up. After the initial setup, you'll want to spend 5 minutes every so often to clean up your database to ensure that everyone has a photo. Are you with me?
Let's do this.
Step 1) Create a Group
- We are going to be putting everyone who doesn't have a photo, into a group
- Navigate to: Setup > Database Tools > Groups > "+ Add a Group"
- We named ours "Z - Alert: No Photo"
- (starting it with a Z puts it at the bottom of the list of groups)

Step 2) Create a Document Template
- Navigate to: Setup > Communication > Document Templates > +Add a Template.
- Then make an Attendance Report formatted for a "Zen Planner Alert".
- Name it something like "Photo Reminder" in a category of your choosing.

Step 3) Write out your custom message
- Use tags to personalize your message.
- I advise you not to "prevent check-in" but that's your option.

Step 4) Create an Automation
- Navigate to: Setup > Communication > Automations
- Then select Add an Automation: "Attendance" at the top.
- Name it something like "Photo Reminder" in a category of your choosing.
- Leave everything blank accept:
- Attended? Yes
- Group: Z - Alert: No Photo (or whatever you named it)
- Send Message: 0 Days after reserved or attended
- Template: "Photo Reminder" (or whatever you named it)
- Name and Categorize your Automation
- Activate and Save.


Pause: What's going on at this point?
So now, you've got a Group that you can put people in and an Automation that filters out everyone from that Group and sends those people an Alert when they try to login for class to remind them about their photo.
The next step is to create a couple "clean up reports" which you or your staff should run on a certain day of the week or month to (you guessed it) clean up your database.
Step 5) Create a photo report that shows all new members
- Navigate to: Dashboard > + New Report > "People"
- Then select "Edit Report Settings" > Format: Photos
- Sort by Signup Date (to see newest people first)
- Create instructions in the description and save the report.
- Filter the photo report like this:
- Status = Student
- Group is not Z Alert No Photo (or whatever your group is called)
- Save the report in something like your "Clean up Reports" category

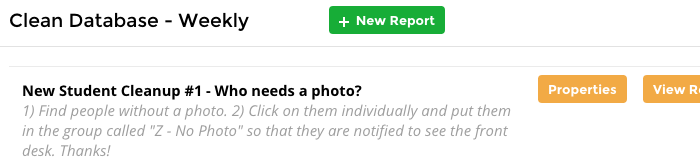
Step 6) Use this report to clean up the new people
- Navigate to your report
- Go into each person's profile who doesn't have a photo and add to the new "No Photo" group that you created.
- If you want to batch a bunch of profiles, you must switch it back to a list style report instead of a photo report

Step 7) Make another report to take people out of the group
- Once you start getting photos, you'll need to take them out of the "No Photo" group.
- If you don't take them out of the group, they will continue to get notifications. :(
- To do this make a profile that looks like the screenshots below:

Step 8) Run these 2 cleanup reports once in awhile
- We have a staff member in charge of using these clean up reports and keeping our database looking good every week.
It's painful to track down people for a photo after they've been there a while, so try to get it on the first day with a good New Member Procedure.
What about you?
Do you care about photos in Zen Planner?
Do you have a different way that you do it?
Let me know in the comments!
No comments :
Post a Comment